This website may contain affiliate links and advertising so that we can provide recipes to you. Read my disclosure policy.
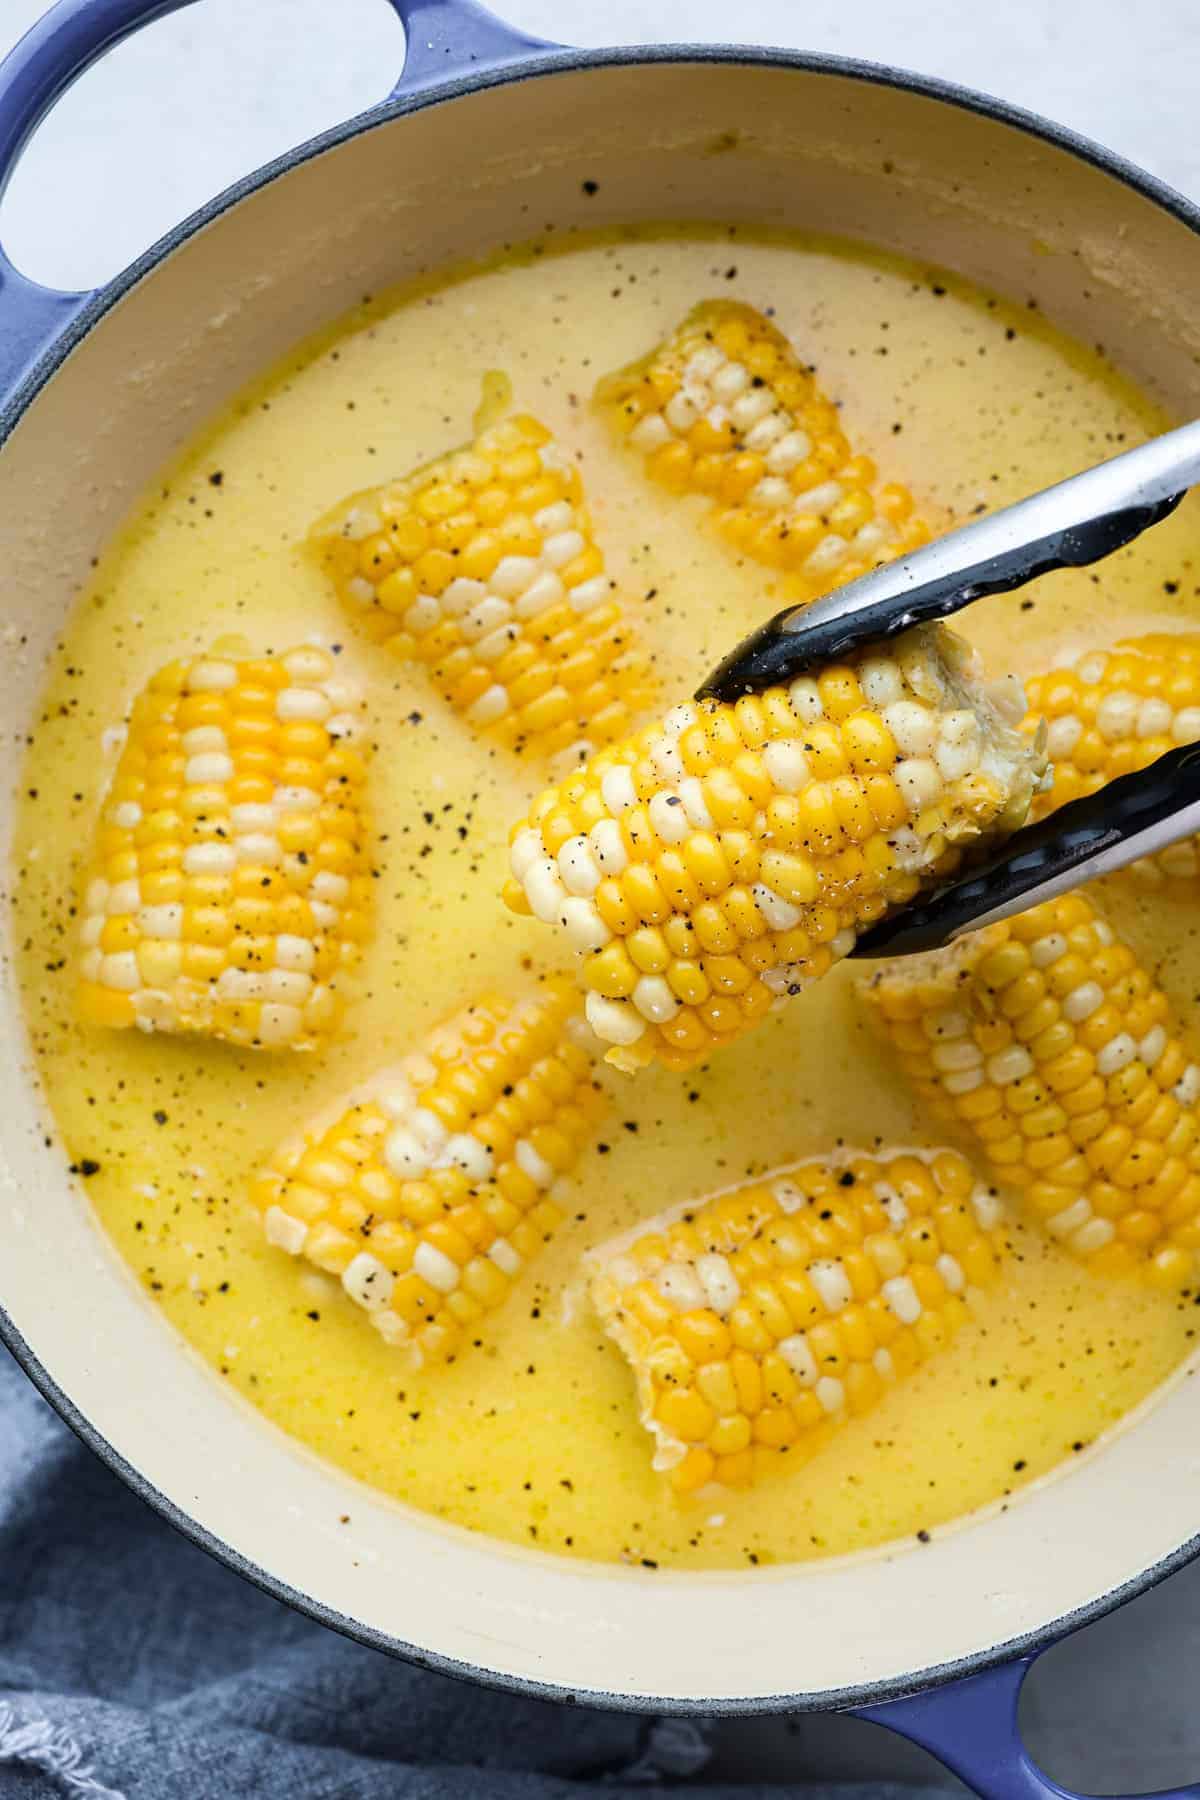

This is the BEST recipe for how to boil corn on the cob! Fresh summer corn gets boiled in a sweet creamy mixture of milk, butter, sugar, and salt. Cook and flavor your corn all in one pot!
Corn makes the perfect side dish and is so versatile! Try my easy Air Fryer Corn, this amazing Corn Salad, or our family’s favorite 5 Ingredient Corn Casserole!


Reasons to Boil Corn
- Tender and Tasty: Perfectly boil and flavor fresh corn on the cob. It comes out tender and it’s SO tasty!
- Easy One Pot Side Dish: Boiling corn on the cob is done in one pot! It’s easy and clean-up is a breeze.
- Ready in Minutes: It only takes 5 minutes to boil corn on the cob! It’s fast and makes the perfect side to any meal.
The Best Boiled Corn on the Cob!
How good does this corn on the cob look?! Let me show you how to boil corn on the cob with this fast and easy method. The trick is adding butter, milk, sugar, and salt to the water. I promise, your corn will never taste better! And the best part is that it’s seasoned and ready to devour right out of the pot. It makes the perfect side dish to any summer meal and I can’t wait for you to try it!
There’s something about fresh summer corn on the cob! It’s a staple barbeque recipe because it pairs well with almost anything. Serve it with Homemade Smash Burgers, delicious Grilled Asian Garlic Steak Skewers, and this easy Grilled Shrimp.
Ingredients Needed
It only takes 6 simple ingredients to make the best-boiled corn on the cob! If you’re lucky enough to grow your own corn then you most likely have all of the ingredients! But that’s ok if you don’t, just grab fresh ears of corn at the market or farm stand and you’re all set!
- Ears of Corn: Shuck the corn by removing the husks and silks before cutting or snapping in half.
- Water: I use 6 cups! Use a big enough pot to add the additional ingredients and corn.
- Milk: Adds creamy flavor to the water mixture!
- Butter: Corn and butter are a must together because the butter melts to coat and flavor the corn.
- Sugar: Adds a bit of sweetness because sweet corn is the best!
- Salt: Balances all the flavors and enhances the sweetness of the corn.
Boiling Corn on the Cob
Knowing how to boil corn on the cob is a must because it’s fast and easy! And you’re going to love how easy this recipe is. Make this corn at your next outdoor get-together, and you will be cooking it up all summer long!
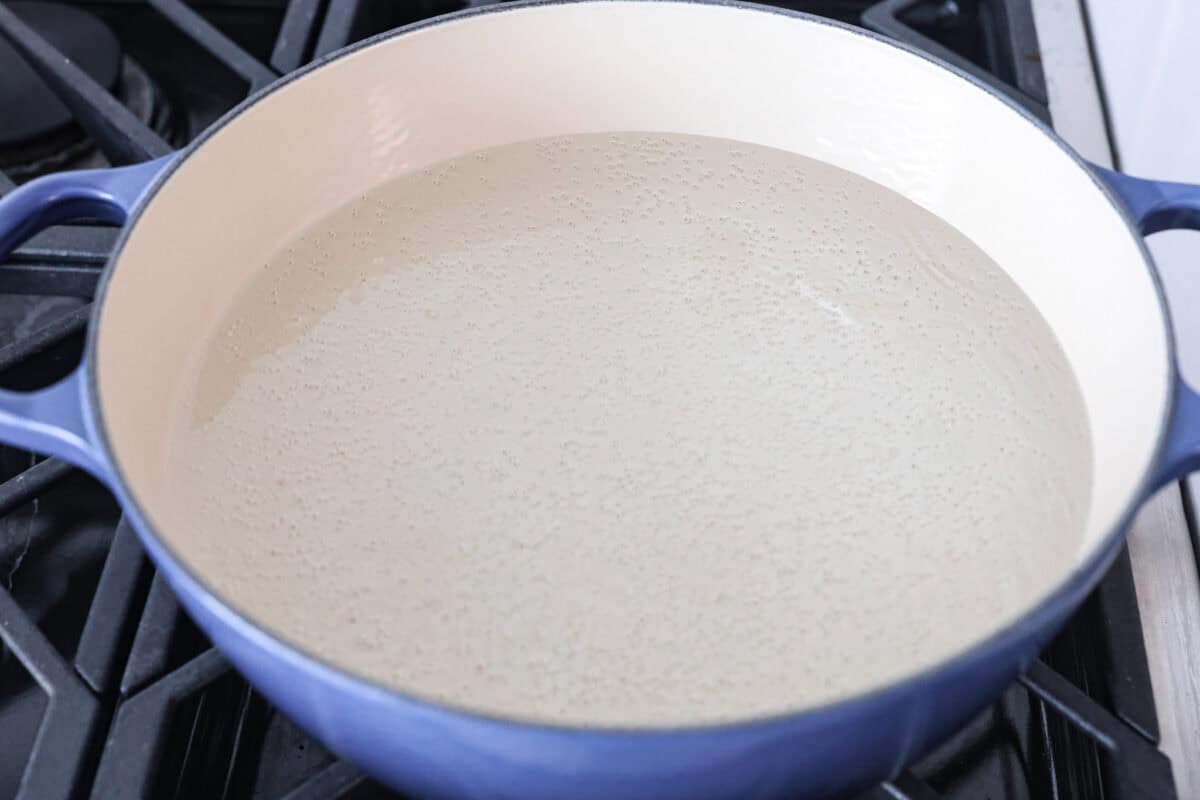
- Boil the Water: First, add 6 cups of water to a large pot then bring the water to a boil.
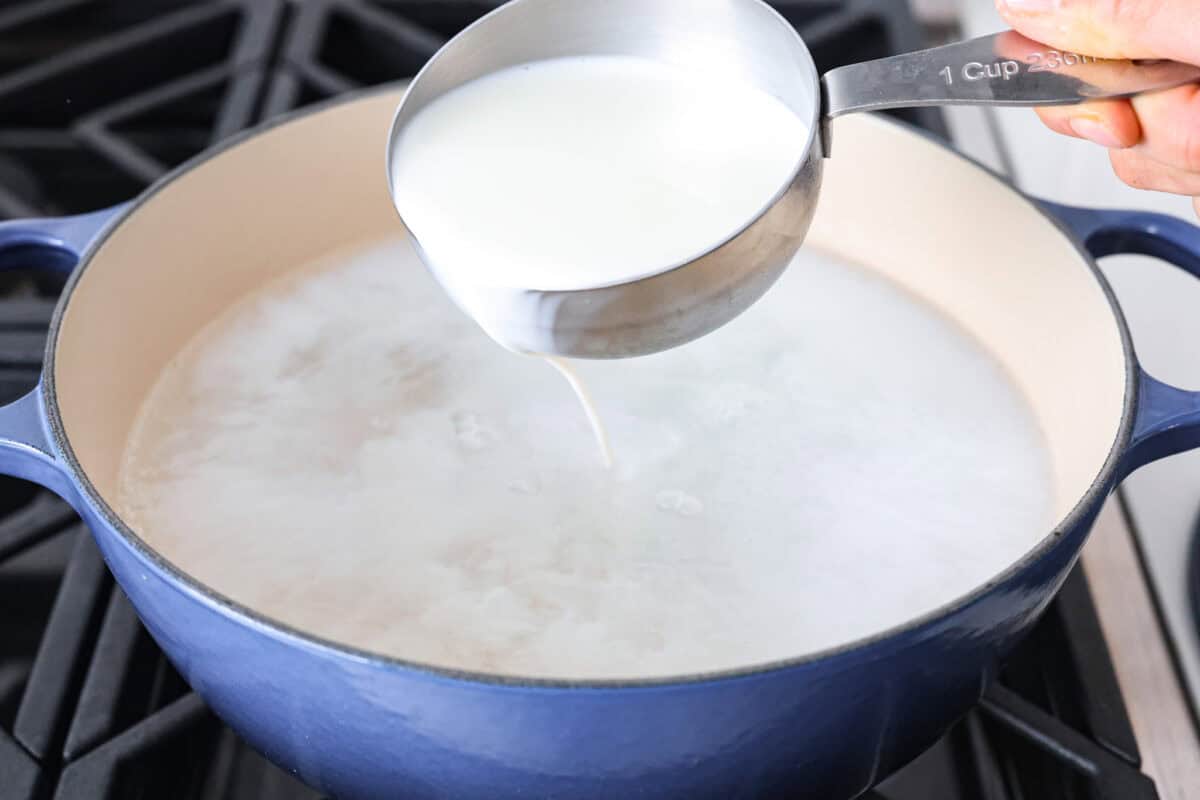
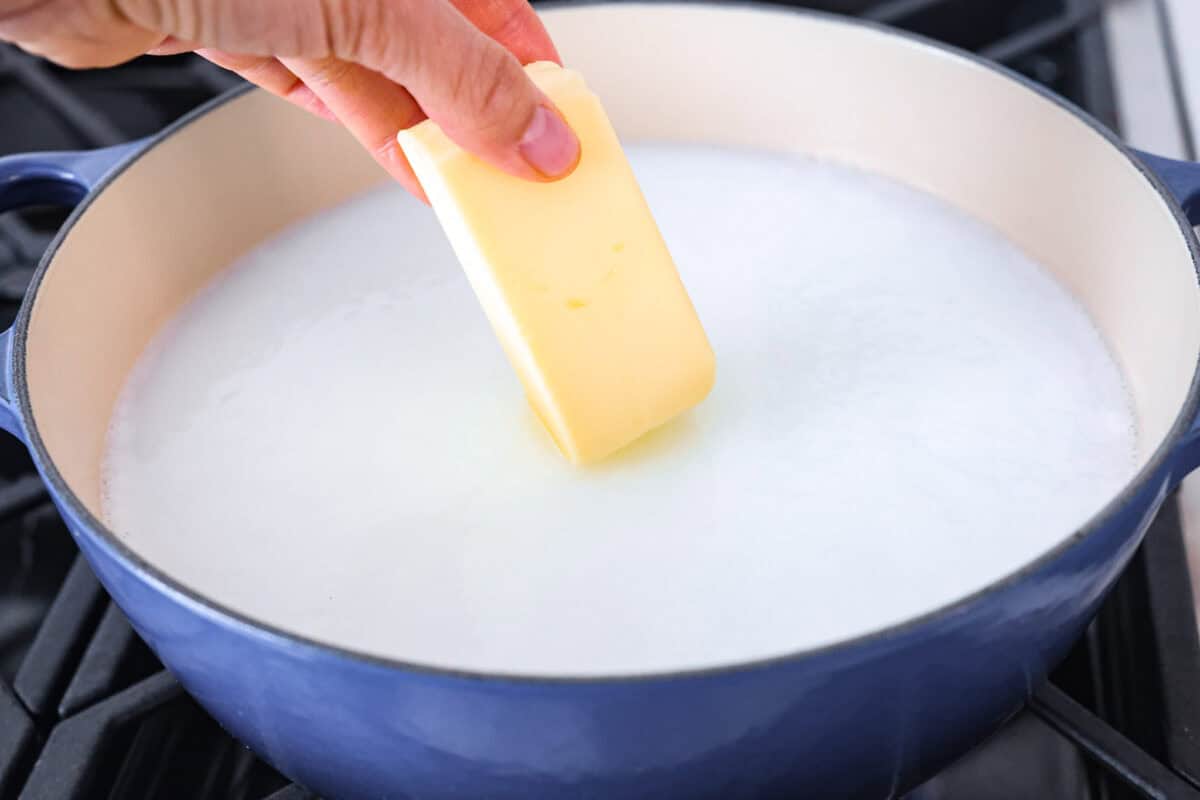
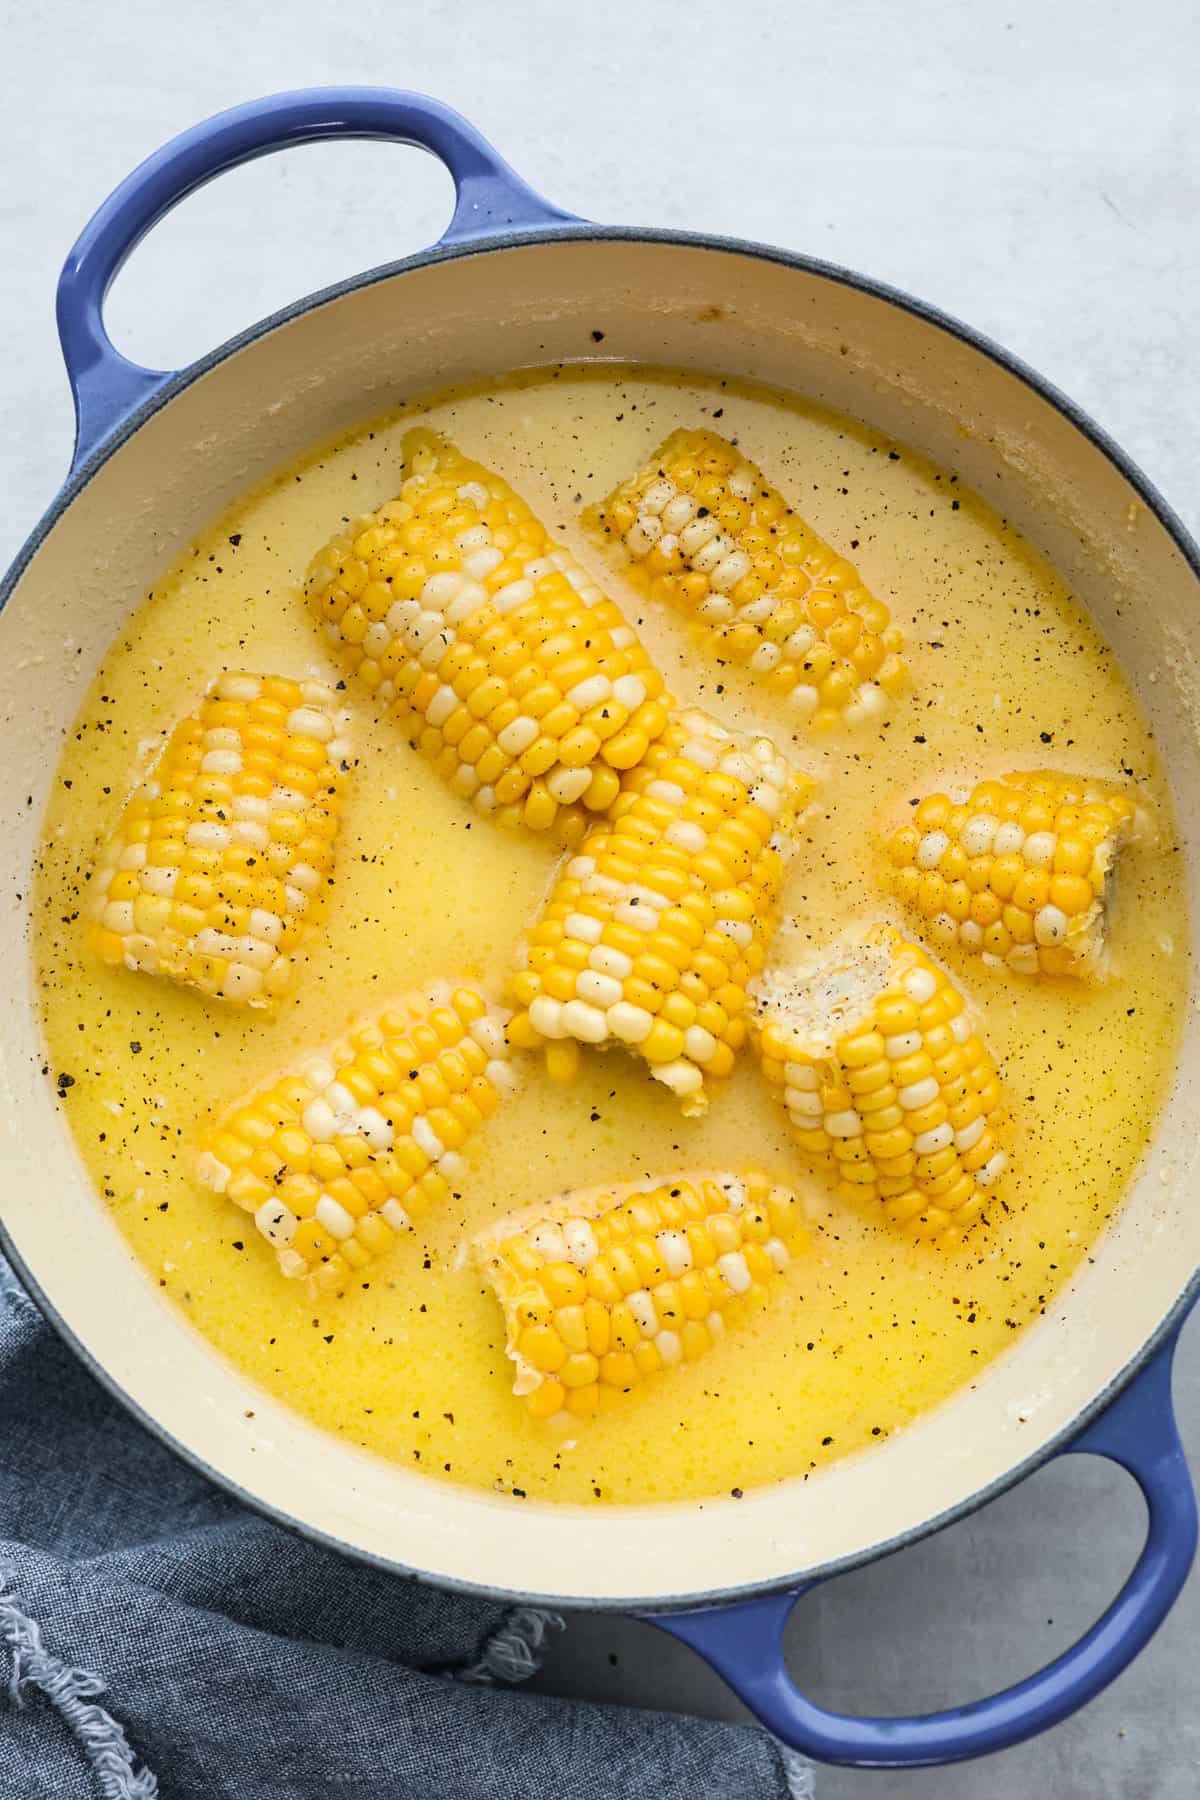
- Add the Milk, Butter, Sugar, and Salt: Next, add in the milk, butter, sugar, and salt then slowly lower the corn into the water.
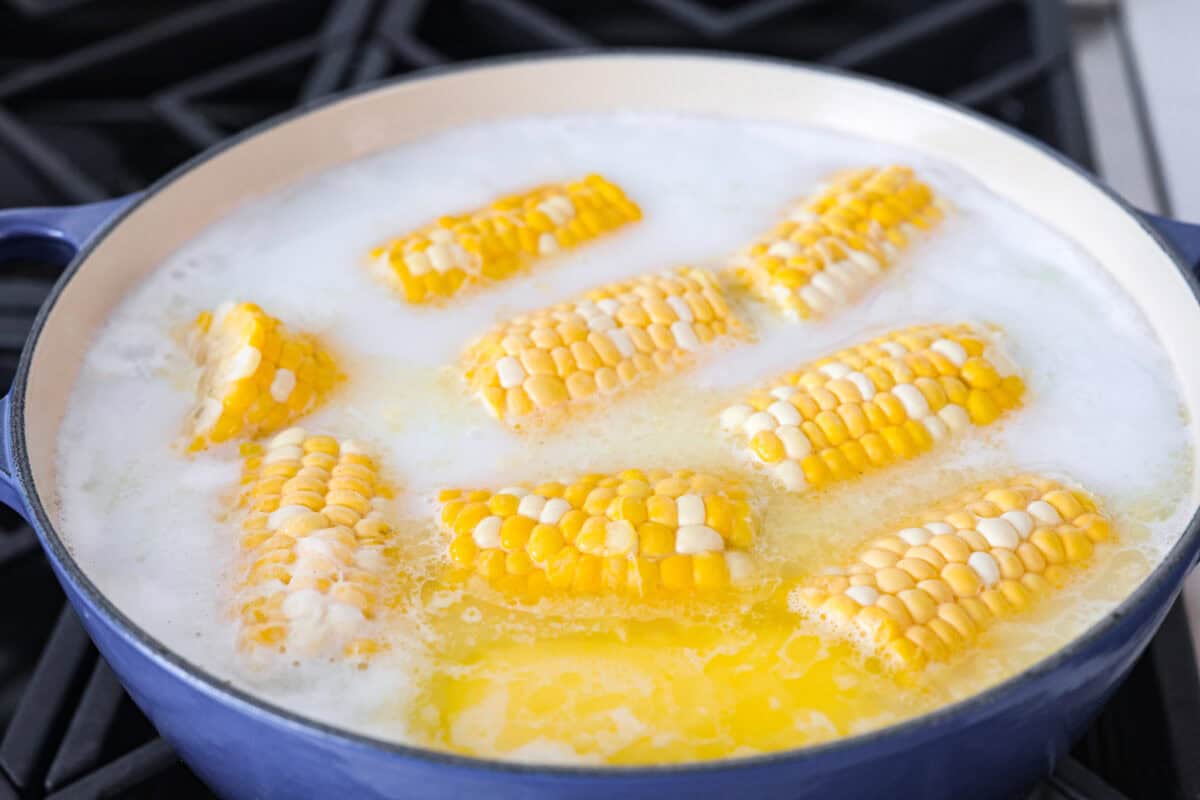
- Boil the Corn: Boil the corn for 5 minutes or until tender. It will be bright yellow in color and tender when pierced with a knife.
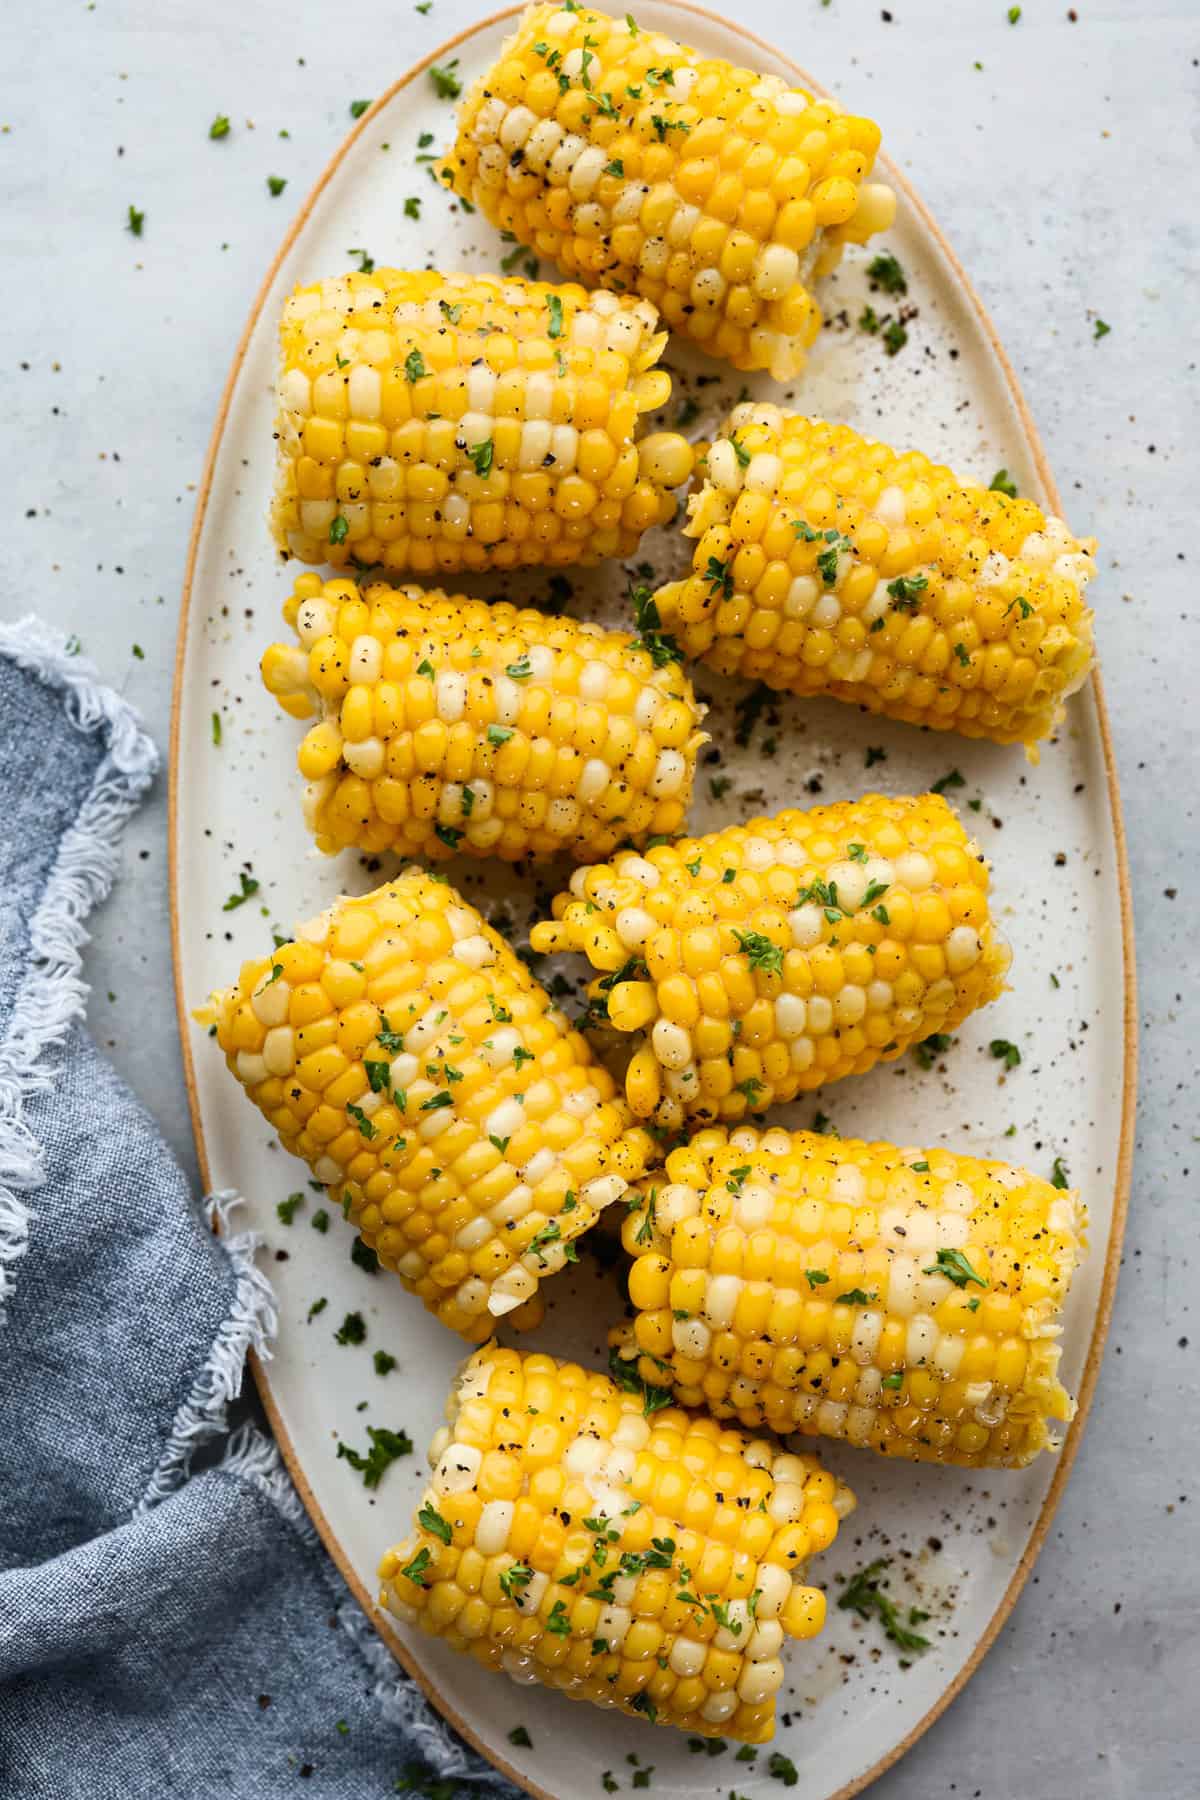
- Remove and Enjoy: Last, remove the corn with tongs from the boiling water. Top with salt, pepper, and desired toppings!




How Long to Boil Corn on the Cob?
Boiling fresh corn on the cob only takes 5 minutes once placed in the boiling water! Boiling the water before adding the remaining ingredients and corn is key. Add additional cooking time if you prefer your corn more tender and less crispy.

Tips For Boiling Corn on the Cob
Here are some easy tips to follow for boiling fresh sweet corn on the cob. You’re going to love the garnish ideas!
- Pot Size: Use a large pot, mine is a 6-quart pot! You don’t want the ingredients to come too close to the top becuase it will boil over and make a mess!
- Corn: Fresh summer corn is ideal, but frozen corn on the cob can be found at the grocery store year round. Add 3-5 minutes of cooking time if the corn on the cob is frozen.
- Cutting: Cut the corn in half using a sharp knife or simply break the cob in the middle! It easily snaps in half.
- Garnish: Add more flavor with garnishes! Sprinkle on fresh herbs like cilantro, basil, or chives or add a dash of seasonings like paprika, chili powder, or Tajin. But our favorite is garnishing with cotija cheese and a squeeze of lime juice on top!
- Time: Cooking time depends on how you prefer your corn. We think 5 minutes is the perfect amount of cooking time, but if you like your corn crispier, then boil it for 3 minutes. Cook to your desired doneness!

Storing Leftovers
Boiled corn on the cob is best served fresh and warm, but it makes great leftovers! Before storing your leftover boiled corn, allow it to cool completely.
- In the Refrigerator: Store boiled corn on the cob in the fridge for 2-3 days. Keep in an airtight container!
- To Reheat: Warm leftovers in the microwave until warmed through.
Try These Tasty Corn Recipes
Pin this now to find it later
-
In a large pot bring about 6 cups of water to boil. You want enough water to cover the corn. Bring the water to a boil.
-
Add in the milk, butter, sugar, salt and slowly lower the corn into the water.
-
Boil the corn for 5 minutes or until tender. It will be bright yellow in color and tender when pierced with a knife.
-
Remove the corn with tongs from the boiling water. Top with salt, pepper and desired toppings!
Calories: 170kcalCarbohydrates: 13gProtein: 3gFat: 13gSaturated Fat: 8gPolyunsaturated Fat: 1gMonounsaturated Fat: 3gTrans Fat: 0.5gCholesterol: 34mgSodium: 691mgPotassium: 171mgFiber: 1gSugar: 7gVitamin A: 488IUVitamin C: 3mgCalcium: 42mgIron: 0.2mg
Nutrition information is automatically calculated, so should only be used as an approximation.
You Might Also Like
Irish Champ Potatoes (Super Flavorful)
This website may contain affiliate links and advertising so that we can provide recipes to you. Read my disclosure policy....
Easy Crockpot Chicken Marsala Recipe
This website may contain affiliate links and advertising so that we can provide recipes to you. Read my disclosure policy....
One Pan Cheeseburger Rice (Easy 30-Minute Dinner)
This website may contain affiliate links and advertising so that we can provide recipes to you. Read my disclosure policy....
Cajun Spaghetti (Creamy, Easy Weeknight Dinner)
This website may contain affiliate links and advertising so that we can provide recipes to you. Read my disclosure policy....


